
Thinking about revamping your kitchen without the hefty price tag of a complete remodel? Painting your laminate cabinets offers a fantastic solution! It’s a cost-effective way to breathe new life into your kitchen, modernise its look, and boost your home’s value.
Many homeowners hesitate, believing laminate poses unique challenges for painting. This guide provides a comprehensive, step-by-step process, empowering you to achieve professional-looking results across your kitchen cabinetry. We’ll cover everything from surface preparation to the final coat, ensuring your cabinets transform into stunning focal points.
Are you ready to unleash your inner DIYer and create the kitchen of your dreams? Let’s do this!
Tools & Materials: Your Painting Arsenal
Before diving into the painting process, gather all necessary tools and materials. Having everything on hand ensures a smooth and efficient workflow.
Cleaning Supplies:
- Sugar soap
- Bucket
- Sponge
- Microfibre cloths
- Rubber gloves
Sanding Tools:
- 120-grit sandpaper
- 220-grit sandpaper
- Sanding block
- Tack cloth
Painting Supplies:
- Primer for laminate surfaces
- Paintbrushes (high-quality angled brush for edges, small roller for doors)
- Paint roller tray and liner
- Paint thinner (appropriate for your chosen paint)
- Laminate paint (choose your desired colour and finish)
- Painter’s tape
- Drop cloths
Optional but Recommended:
- Paint sprayer (for a faster, smoother finish)
- Respirator mask (for use with paint sprayer or when working in enclosed spaces)
This comprehensive list ensures you have everything to tackle your cabinet painting project. Remember to choose high-quality products for optimal results.
The Step-by-Step Guide to Painting Perfection
Now that you have your tools and materials ready, let’s dive into the painting process. Remember, proper preparation is crucial for a flawless and durable finish.
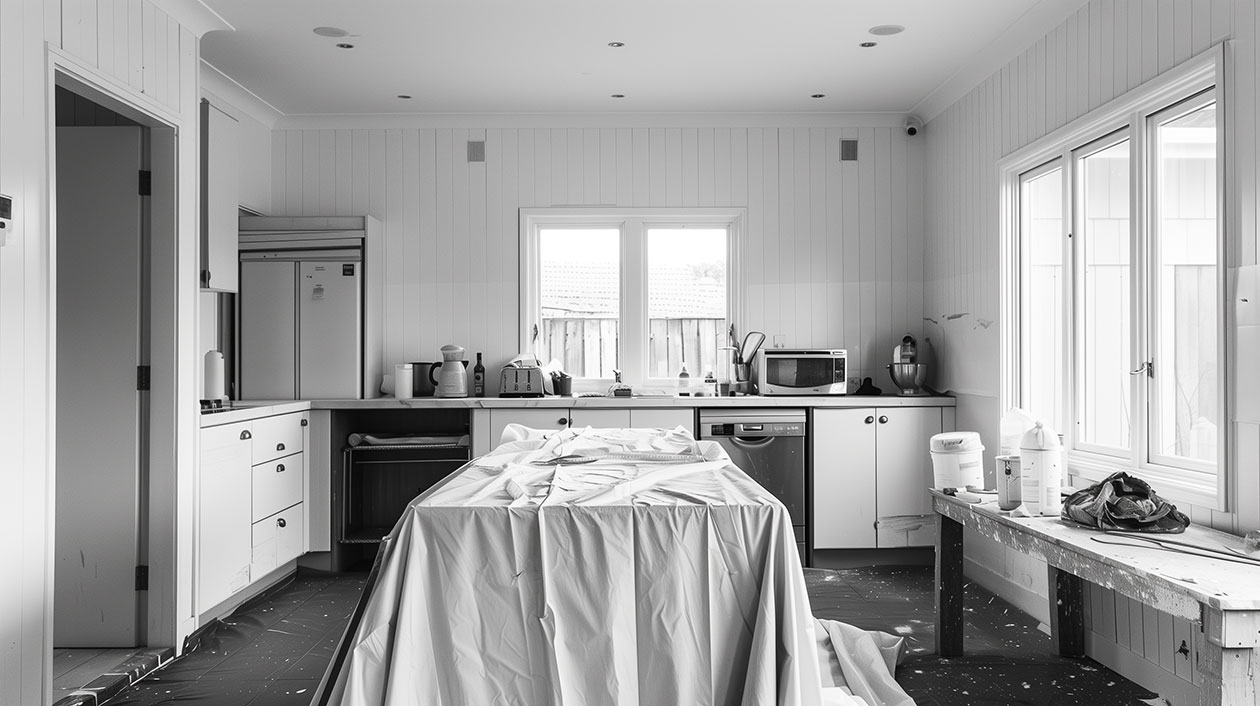
1. Prepare Your Workspace:
- Remove all items from your countertops and clear the area around your cabinets.
- Lay down drop cloths to protect your floors from paint splatters and dust.
- Ensure adequate ventilation by opening windows and doors.
2. Remove Doors and Hardware:
- Take off cabinet doors and drawer fronts using a screwdriver.
- Label each door and drawer front to ensure easy reinstallation.
- Remove all hardware, including handles, knobs, and hinges.
3. Clean Thoroughly:
- Clean all surfaces with a sugar soap solution. This removes grease, grime, and any residue that might prevent paint adhesion.
- Rinse thoroughly with clean water and dry completely with a clean microfibre cloth.
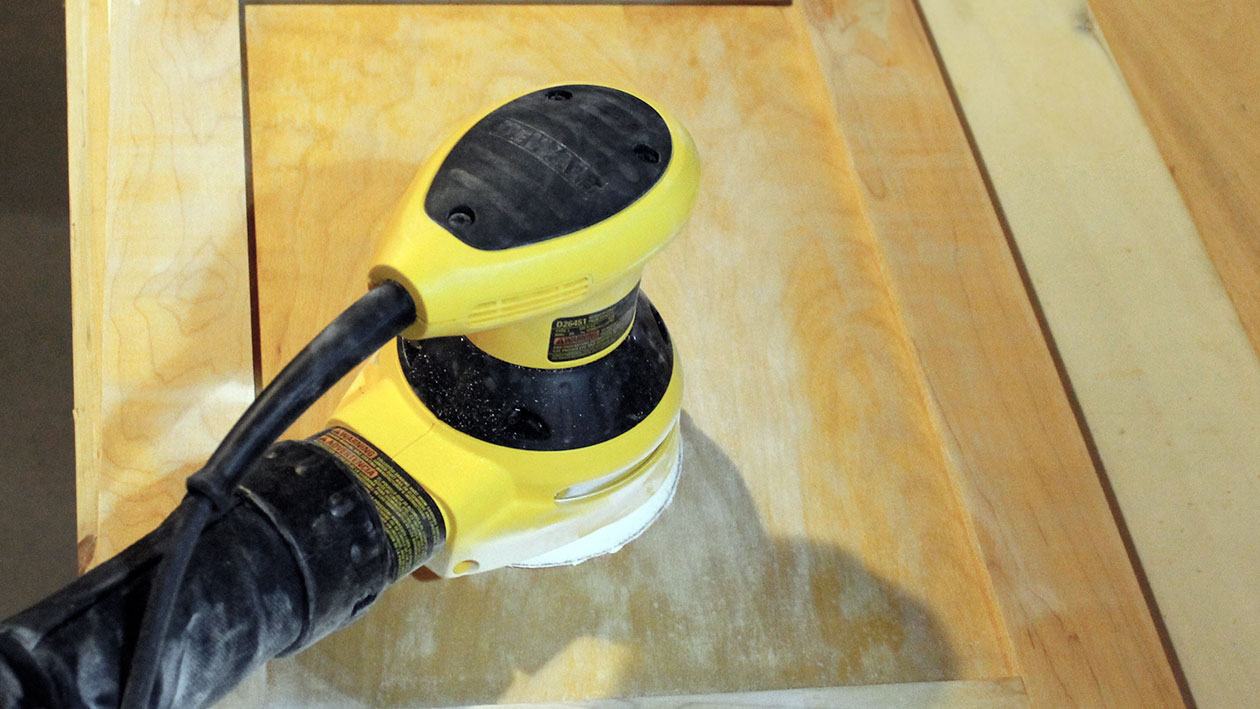
4. Sand for Better Adhesion:
- Lightly sand all surfaces with 120-grit sandpaper. This is especially important for laminate cabinets, as the lamination can sometimes prevent paint from adhering properly.
- Focus on creating a slightly roughened surface for better primer adhesion. You don’t need to remove the existing finish completely, just create enough texture for the primer to grip onto.
5. Clean Up Sanding Dust:
- Wipe away sanding dust with a tack cloth.
- Ensure all surfaces are completely clean and free from any particles.
6. Prime for Durability:
- Apply a thin, even coat of primer specifically designed for laminate surfaces. Unlike priming raw wood, laminate requires a specialised primer to ensure proper adhesion.
- Use a brush for corners and edges, and a small roller for larger, flat areas.
- Allow the primer to dry completely according to the manufacturer’s instructions.
7. Sand Again for a Smooth Finish:
- Lightly sand the primed surfaces with 220-grit sandpaper.
- This creates an ultra-smooth base for your paint.
- Wipe away any dust with a tack cloth.
8. Apply the First Coat of Paint:
- Stir your chosen laminate paint thoroughly.
- Use a high-quality angled brush to paint the edges, corners, and any detailed areas.
- For larger, flat surfaces, use a small roller to apply paint evenly.
- Maintain a wet edge to avoid visible brushstrokes or roller marks.
9. Allow Proper Drying Time:
- Let the first coat of paint dry completely according to the manufacturer’s instructions.
- This usually takes several hours.
10. Sand Between Coats (If Needed):
- Lightly sand the surface with 220-grit sandpaper to remove any imperfections or raised grain.
- Wipe away sanding dust with a tack cloth.
11. Apply Additional Coats:
- Apply a second or third coat of paint, following the same techniques as the first coat.
- Allow each coat to dry completely before applying the next.
- Two to three coats are typically sufficient for a durable and opaque finish.
12. Seal for Protection:
- Once the final coat of paint is completely dry, apply a protective sealant.
- Choose a sealant designed for laminate surfaces and your desired sheen (matte, satin, or gloss).
- Apply the sealant evenly with a brush or roller, following the manufacturer’s instructions.
13. Reinstall Hardware and Doors:
- After the sealant has dried completely (usually 24 hours), reinstall the cabinet doors, drawer fronts, and hardware.
- Refer to your labels to ensure everything goes back in its original position.
- Use new screws if the old ones are damaged or stripped.
14. Enjoy Your Transformed Kitchen!
Congratulations! You’ve successfully painted your laminate kitchen cabinets like a pro. Stand back and admire your handiwork. Your kitchen now boasts a fresh, modern look, reflecting your personal style and increasing your home’s value.
Maintenance and Care Tips for Laminate Kitchen Cabinets
Once your kitchen cabinet has a fresh coat of paint, preserving its beauty takes precedence. Regular cleaning is the key to longevity, so employ a soft cloth or sponge with a gentle cleaner to wipe away grime and spills. Avoid abrasive materials or harsh chemicals that may damage the paint finish. If a damp cloth doesn’t suffice, a cleaning solution of warm water and mild dish soap usually will.
Look for the typical problems that could afflict your newly painted surfaces, such as chips or peeling. To circumvent these issues, ensure cabinets are not exposed to excessive humidity or water. If drawers and doors frequently strike one another, consider installing stoppers to mitigate impact, thus preventing damage.
For scratches or small chips, a fine artist’s brush dipped in matching paint can be used for touch-ups. Specific touch-up kits are also available and may provide a convenient option for maintaining the pristine look of your cabinets. When performing such precision work, apply only a minimal amount of paint to avoid raised areas that could draw attention to the touch-up work
Can You Paint Over Laminate Cabinets Without Sanding?
While it’s technically possible to paint laminate cabinets without sanding, it’s not recommended. While skipping sanding might seem tempting to save time and effort, it significantly compromises the paint’s adhesion and the final result.
Maz Nazzimi, a professional painter at Dupaint, has this tip: “Trying to avoid sanding? Consider Annie Sloan Chalk Paint, a product that eliminates the need for both sanding and priming! This unique paint adheres beautifully to various surfaces, including laminate, making it a dream for busy DIY enthusiasts. Whilst the result won’t be as good as actually sanding the surface first, it is a good second place.”
Here’s why:
- Laminate’s Smooth Surface: Laminate surfaces are notoriously smooth, lacking the natural texture of wood. This smoothness prevents paint from gripping effectively, leading to peeling, chipping, and an uneven finish.
- Risk of Peeling: Without sanding, the paint sits on top of the laminate instead of bonding with it. This makes it highly susceptible to peeling, especially in high-traffic areas or with frequent cleaning.
- Compromised Durability: Painting over unsanded laminate results in a weaker bond between the paint and surface. This leads to a less durable finish that’s more prone to scratches, marks, and overall wear and tear.
While you might save some initial effort, painting over laminate without sanding will likely lead to unsatisfactory results and require costly touch-ups or repainting down the line.
Light sanding is a crucial step in prepping laminate surfaces for painting. It provides the necessary “tooth” for the primer and paint to adhere to, ensuring a durable, professional-looking, and long-lasting finish on your kitchen cabinets.
Remember, a little extra effort in the preparation stage goes a long way in achieving a stunning and resilient cabinet transformation you can enjoy for years to come!